
This is part 2 of adding Swagger and IdentityServer4 support to a WebApi. Last time we set up the WebApi with Swagger. Now we will add the IdentityServer4 QuickStart sample and tweak it to support our Api. I’m going to move quickly over the setup of the QuickStart as the focus of these posts is on configuration of our WebApi.
- Adding Swagger to a WebApi
- Adding IdentityServer to the WebApi
Adding IdentityServer
As I don’t want to go into all of the configuration required in setting up IdentityServer4 (that’s a topic for a different post) lets just grab one of the QuickStarts. The SwaggerUI will be using an implicit flow style so lets grab the QuickStart from here. After grabbing just this project, add it to your solution that has the WebApi project in it. When I did this I upgraded it to use a .csproj (as I’m using VS 2017 RC for these posts) and upgraded all of the Nuget Packages.
In order for IdentityServer to accept requests from our Swagger UI we need to update the Config.cs within the quickstart to use this client. Feel free to just replace the GetClients static method with the below for our demo purposes.
Swagger UI uses o2c.html as a callback handler after a login has taken place in IdentityServer and wires up the bearer token for subsequent calls made by the Swagger UI test framework. This is all part of the package that we installed during the last post.
Securing the WebApi
Next lets secure our Api. When working with IdentityServer we’ll need to get the Access Token Validation package and install it into the WebAPI project.
Install-Package IdentityServer4.AccessTokenValidation
With that installed we can add the validation code to our Startup.cs in the WebAPI project. For simplicity sake we are just leveraging the default ApiResource name of “api1” that is already configured in the IdentityServer QuickStart.
The above code is what will handle processing the bearer tokens in any API Controllers or Methods that have the Authorize attribute. Lets add that now to the ValuesController.
If we run our WebApi code and call the Get method through the SwaggerUI test harness we will get a 401 because we are no longer allowed to access the method. Unfortunately, our documentation doesn’t do anything to let a consuming developer know that this is a requirement. Swagger has various filters that allow you to apply additional configuration. In our case we want to tell Swagger that if anything has an Authorize attribute to use that to generate additional information about that method related to 401 and 403 status codes. For this we will use an implementation of the IOperationFilter and wire it up into the SwaggerGen call in Startup.
Now when we run the code our SwaggerUI will indicate a few new things. First off at the bottom it indicates that possible response messages include 401 and 403. There is also a new red explanation mark button on the page. If you click that it will provide an empty popup with text about Available Authorizations. Sadly, we haven’t told it about anything! So next up, lets wire up communication with IdentityServer.
Hooking up Swagger and IdentityServer
Note: If you haven’t done so already, I recommend setting up multiple startup projects for both IdentityServer and the Web Api project. As we’ll need both running at the same time it is handy to have them both launch with a simple press of F5. Steve Smith recently blogged about how to set this up so I will just point you over there.
In order to tell Swagger UI how to Authorize against our IdentityServer we need to provide some configurations in the services.AddSwaggerGen call and the middleware for the ui in app.UseSwaggerUi(). Below is the new code:
The flow we are using is Implicit and the urls are the endpoints exposed by IdentityServer. For our scope we are using the api1 scope as it is how we have defined our WebApi in both IdentityServer (as a resource) and within the middleware setup for token validation. Lets run the project and check out what Swagger UI has to offer now as a way of connecting to IdentityServer.
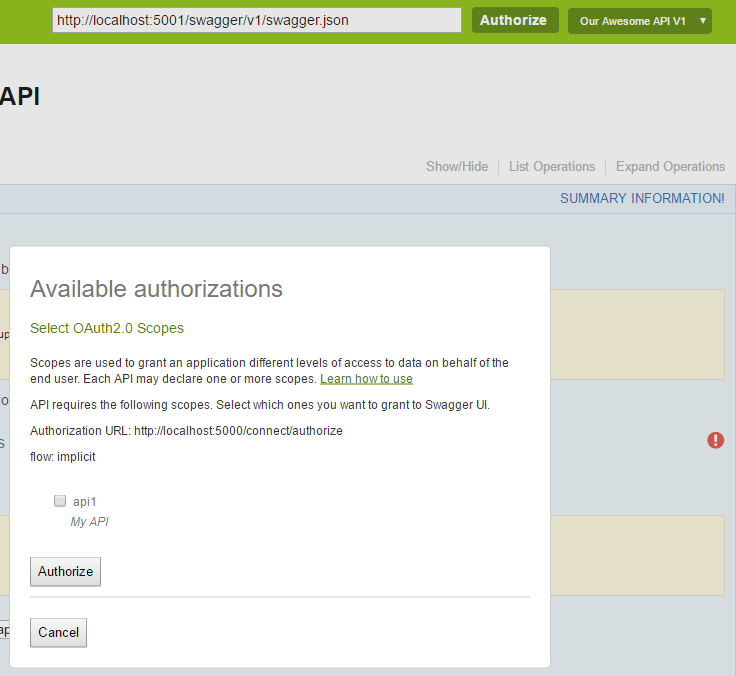
By clicking either the Authorize button that is now at the top or the red exclamation button you are now able to choose a scope and authorize for it. Check the box and click authorize.
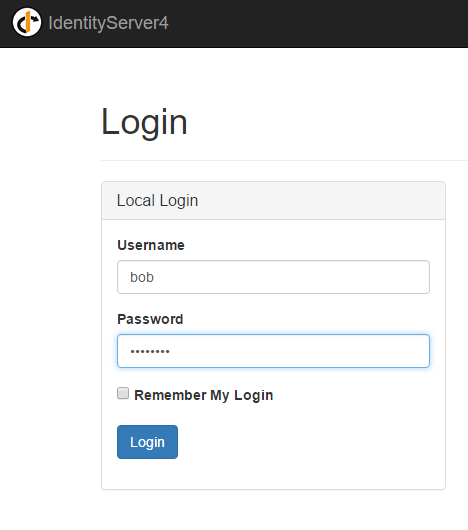
You should now be prompted with the IdentityServer login page. The Quickstart comes with two users, bob & alice, both of which have the super secure password of “password”. Login now.
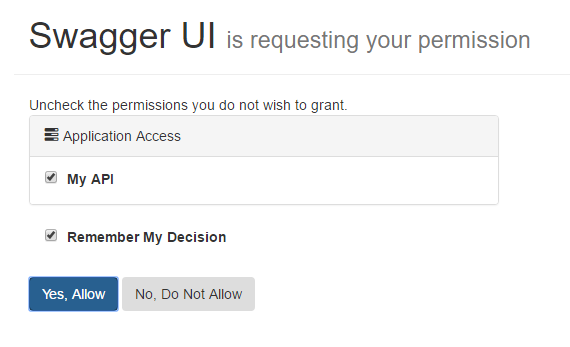
Our IdentityServer client configuration is configured to require consent so we have to allow access. Press “Yes, Allow”. Doing so should redirect you back to the Swagger UI page. When you expand the Get request you’ll notice that the Red Exclamation button is now Blue. Try a test request and you should get the following result.
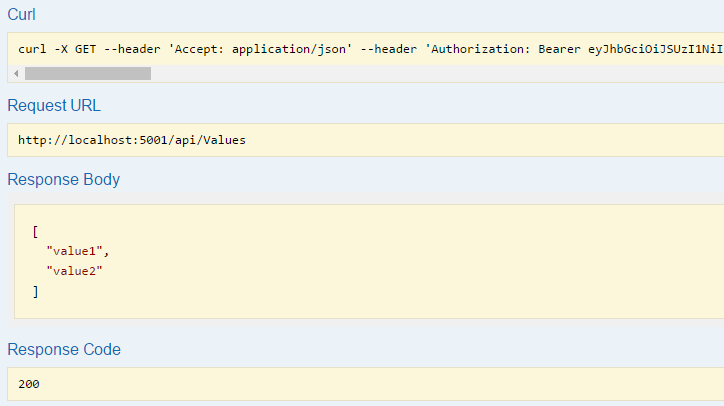
Within the curl command line request you can see that there is a header that is supplying a Bearer token. This is how the authorization works. When your WebApi receives the request it will validate against IdentityServer to make sure that it is a valid token. If it is the WebApi allows access which we see is working now.
Summary
So that’s it. You can secure your API and still have awesome working documentation around it. With how incredibly easy and powerful it is to enable Swagger documentation into your API it should be an obvious choice with adding it to your internal projects.
In the use cases I plan to use this for I am not building an externally exposed API, but I’m on a large enough team that good documentation like this (not to mention the test harness) will be super useful for other people on my team or new people that get swapped in. As such I’ve wrapped most of the Swagger related code into env.IsDevelopment() blocks so that it only is exposed when running locally in dev. I’ll also only expose the IdentityServer client configuration for localhost related clients when in Dev.
This works well for my use case. Your mileage may vary.
